
 Yueqing Yijin Electronics Co., Ltd.



Timer Switch
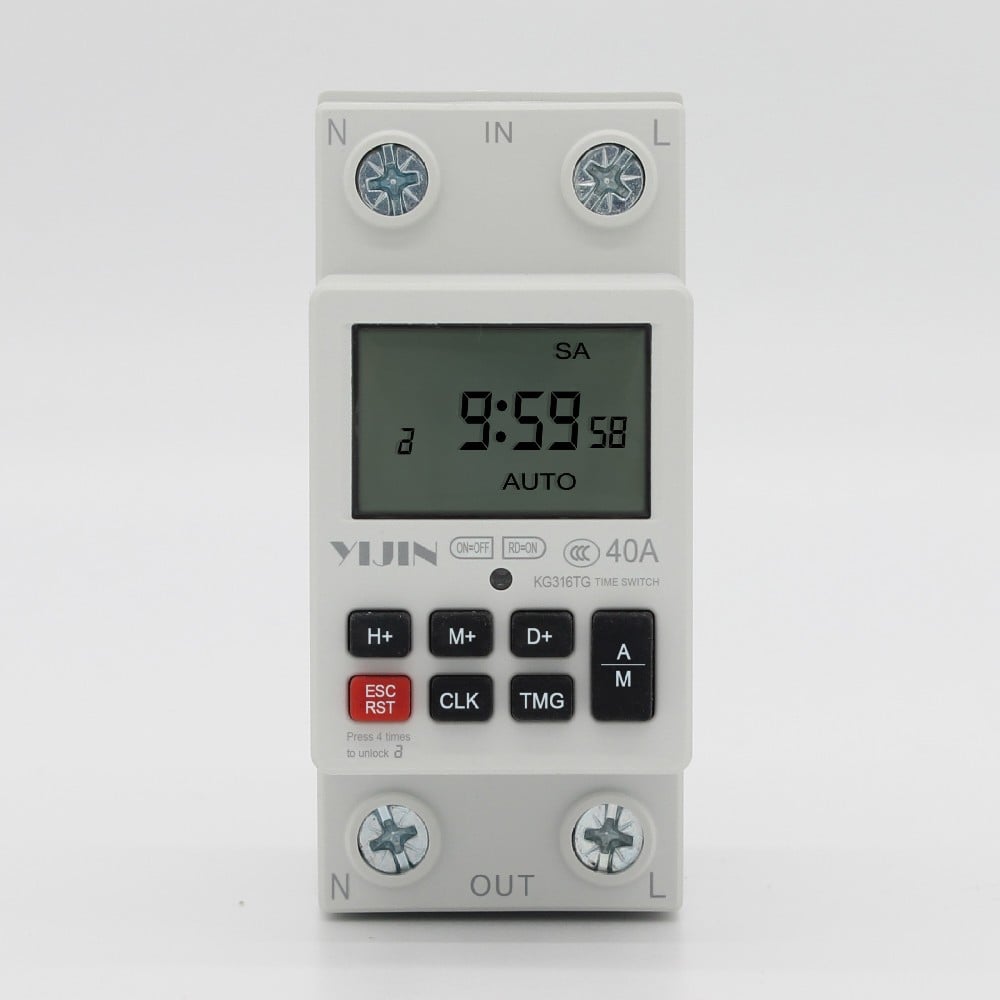
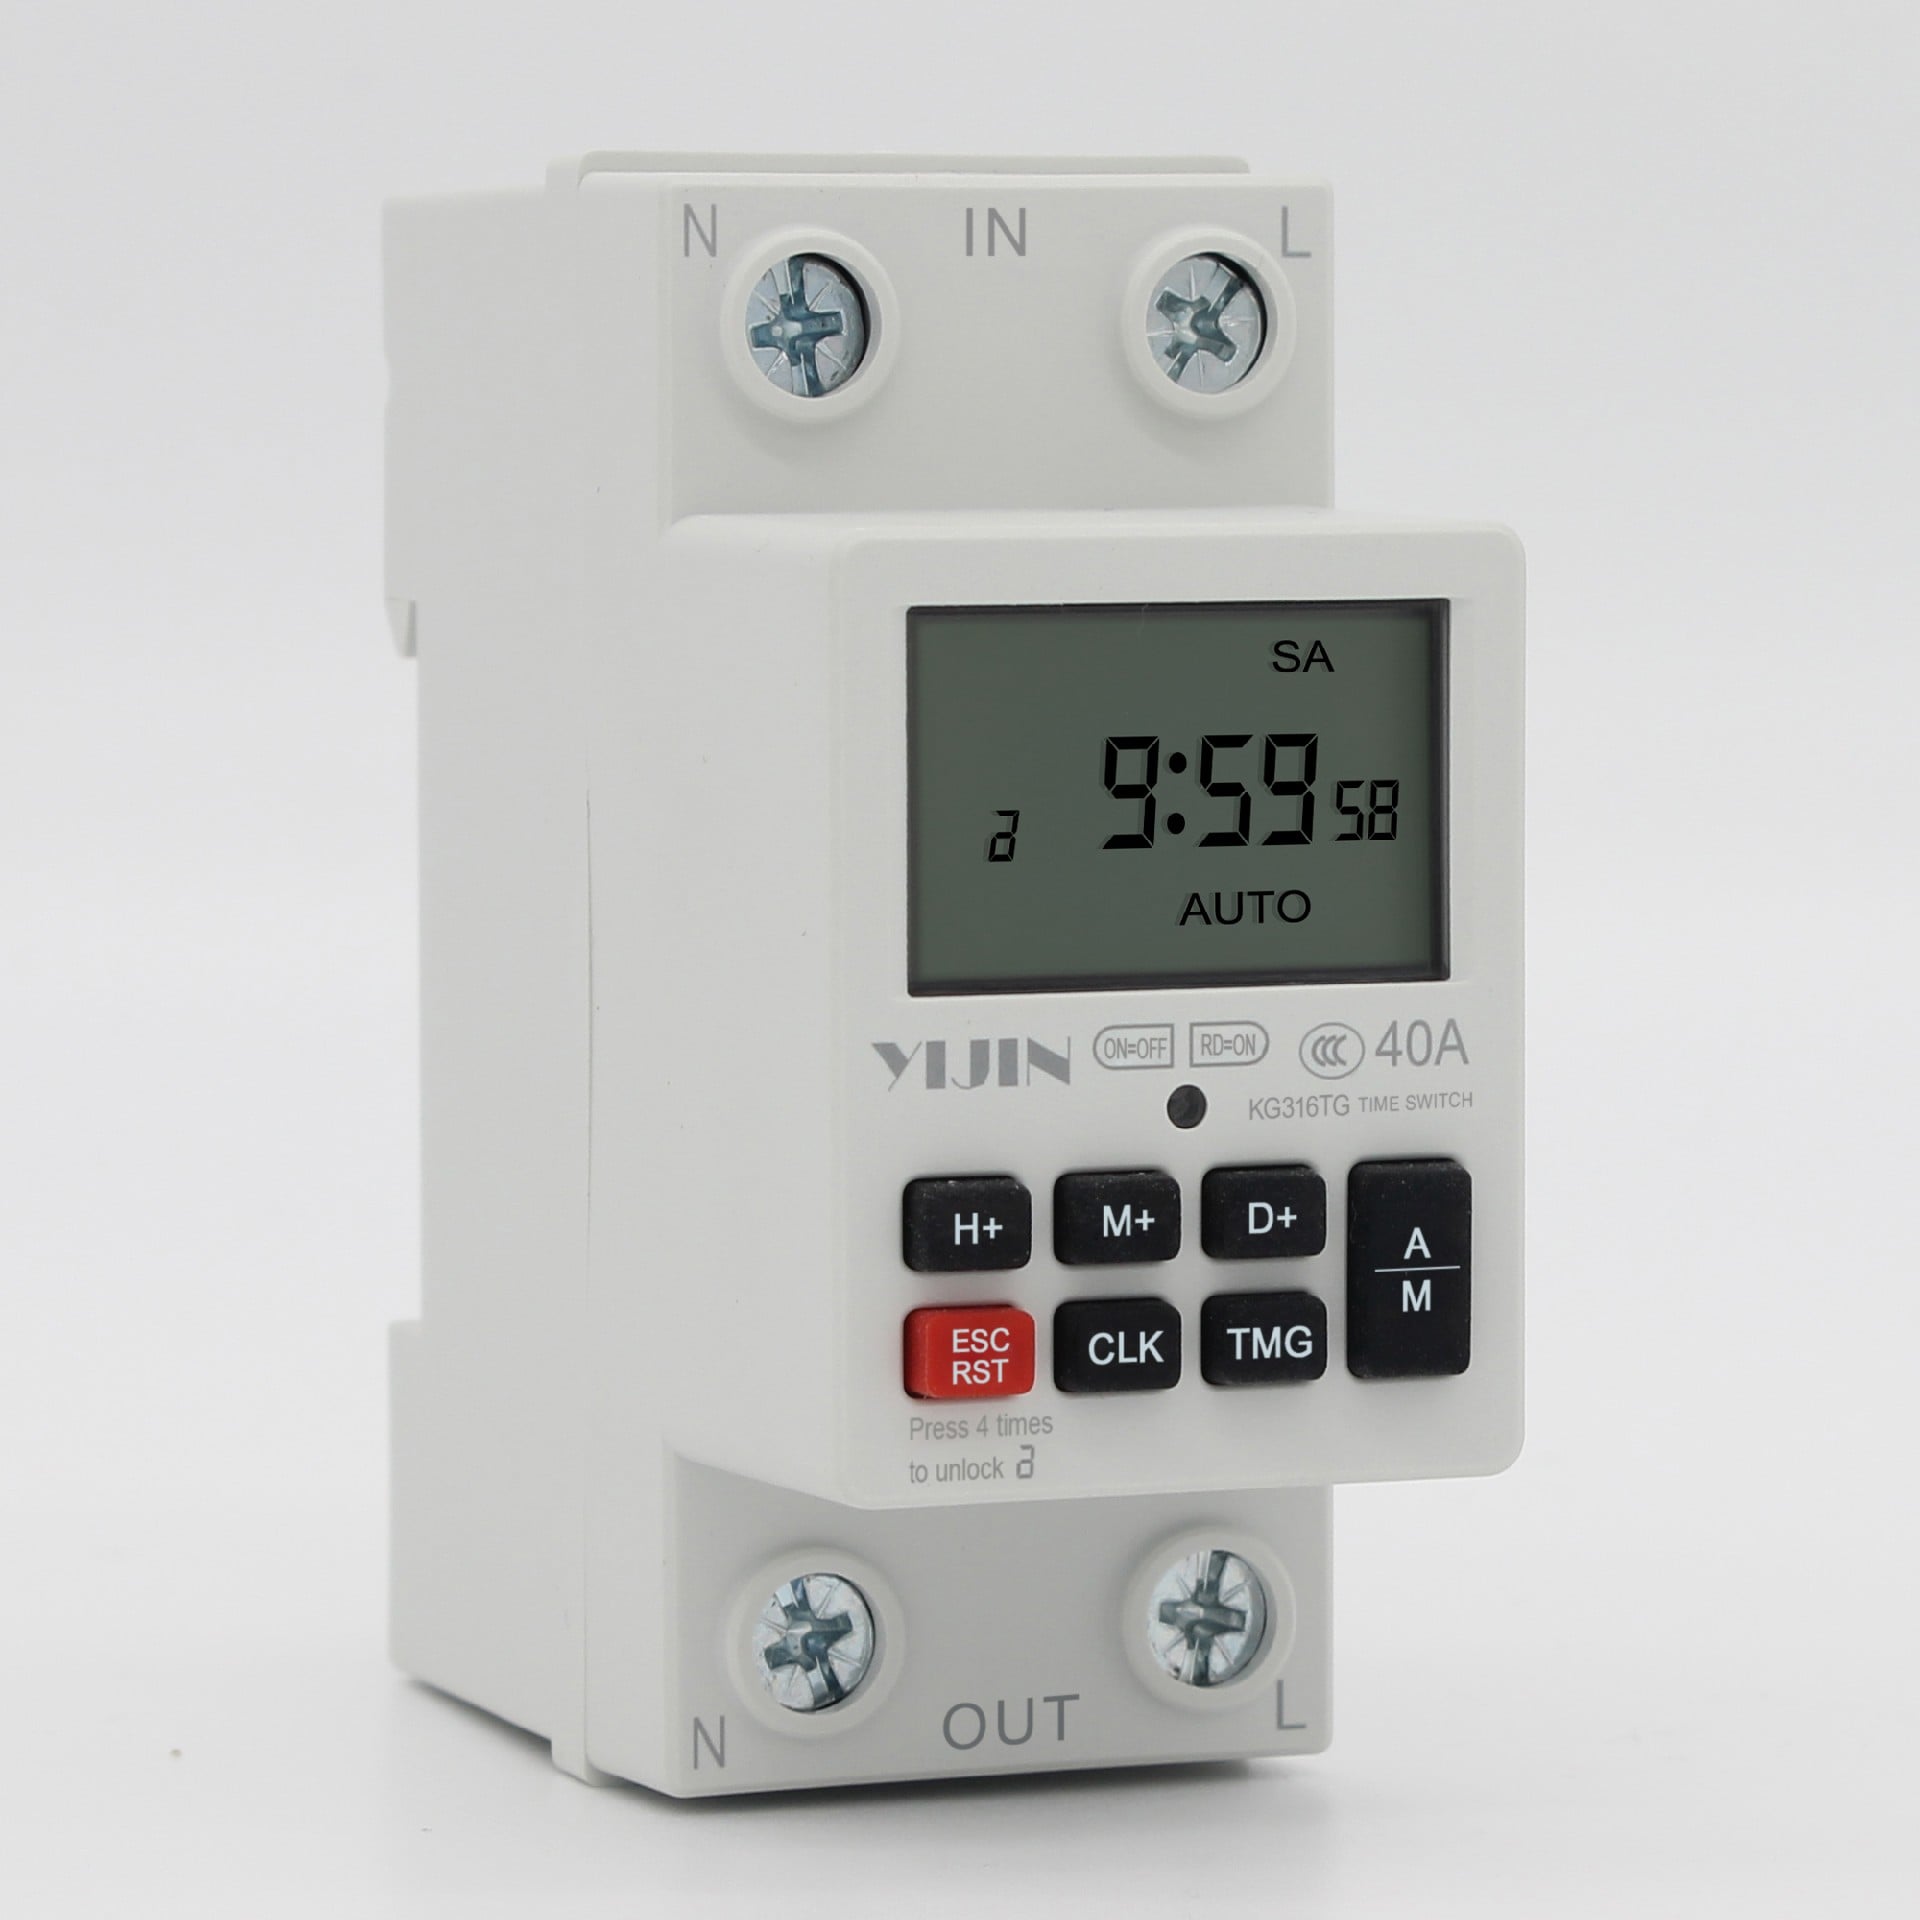
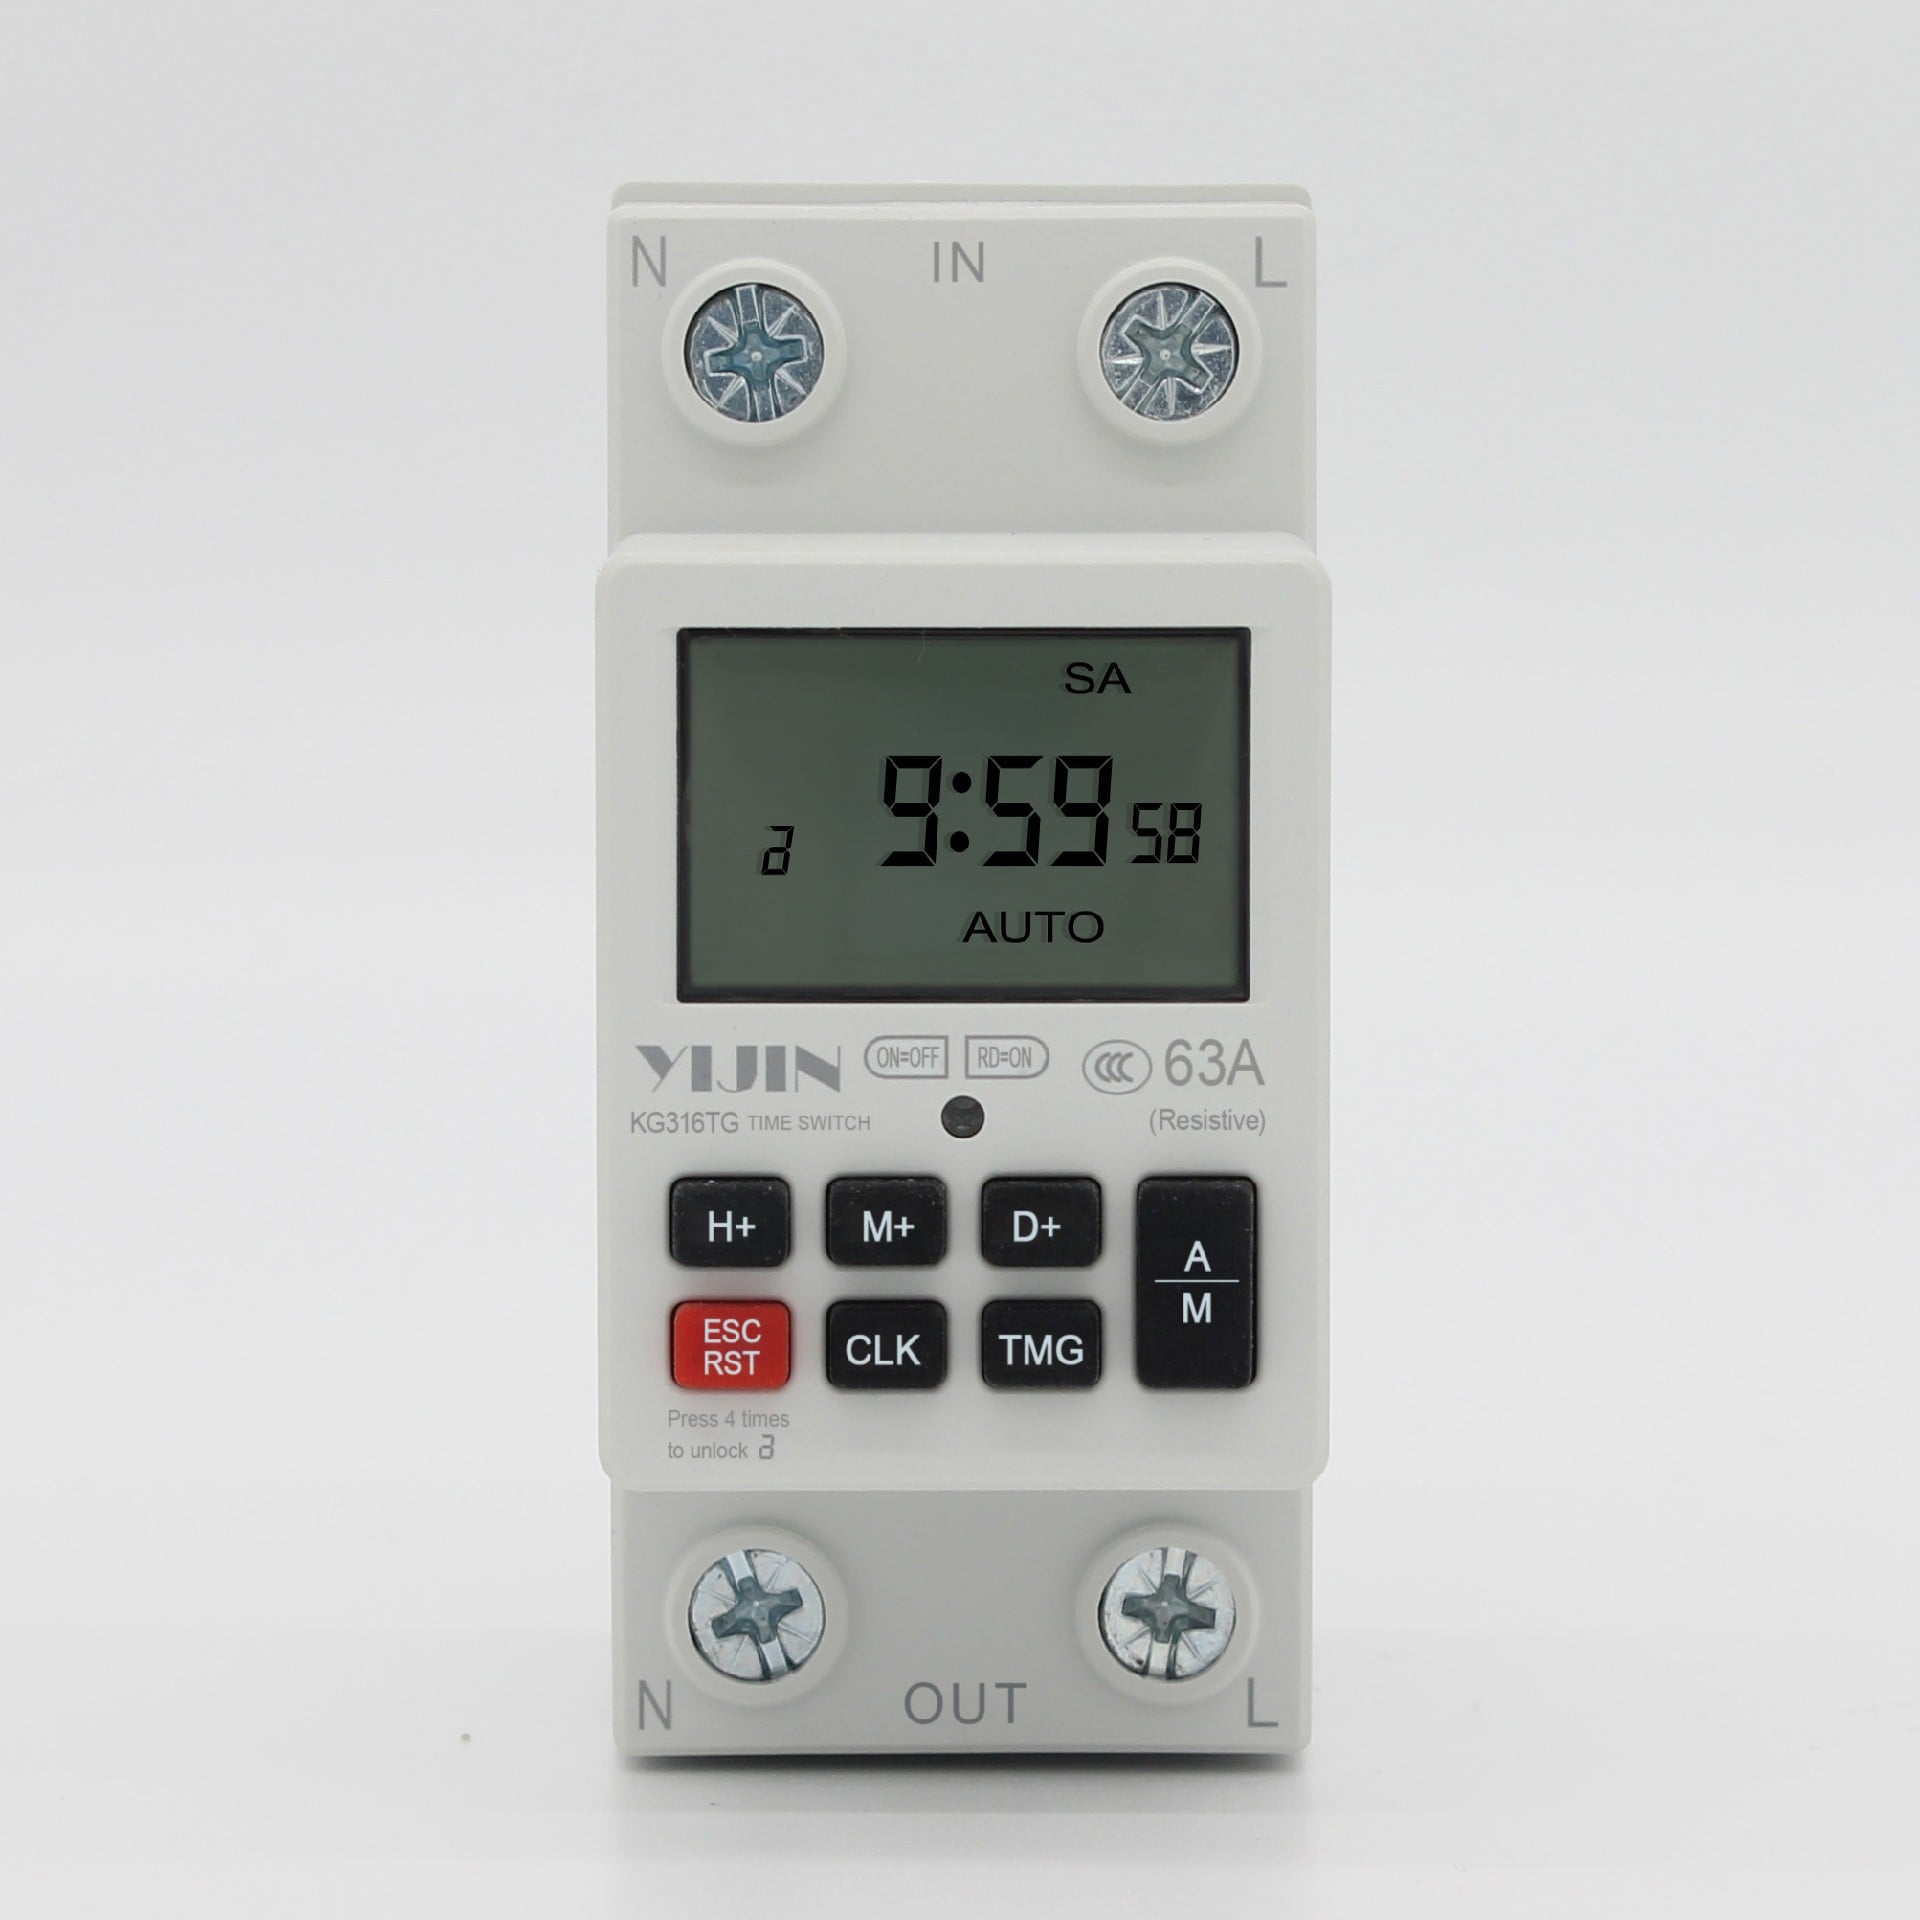
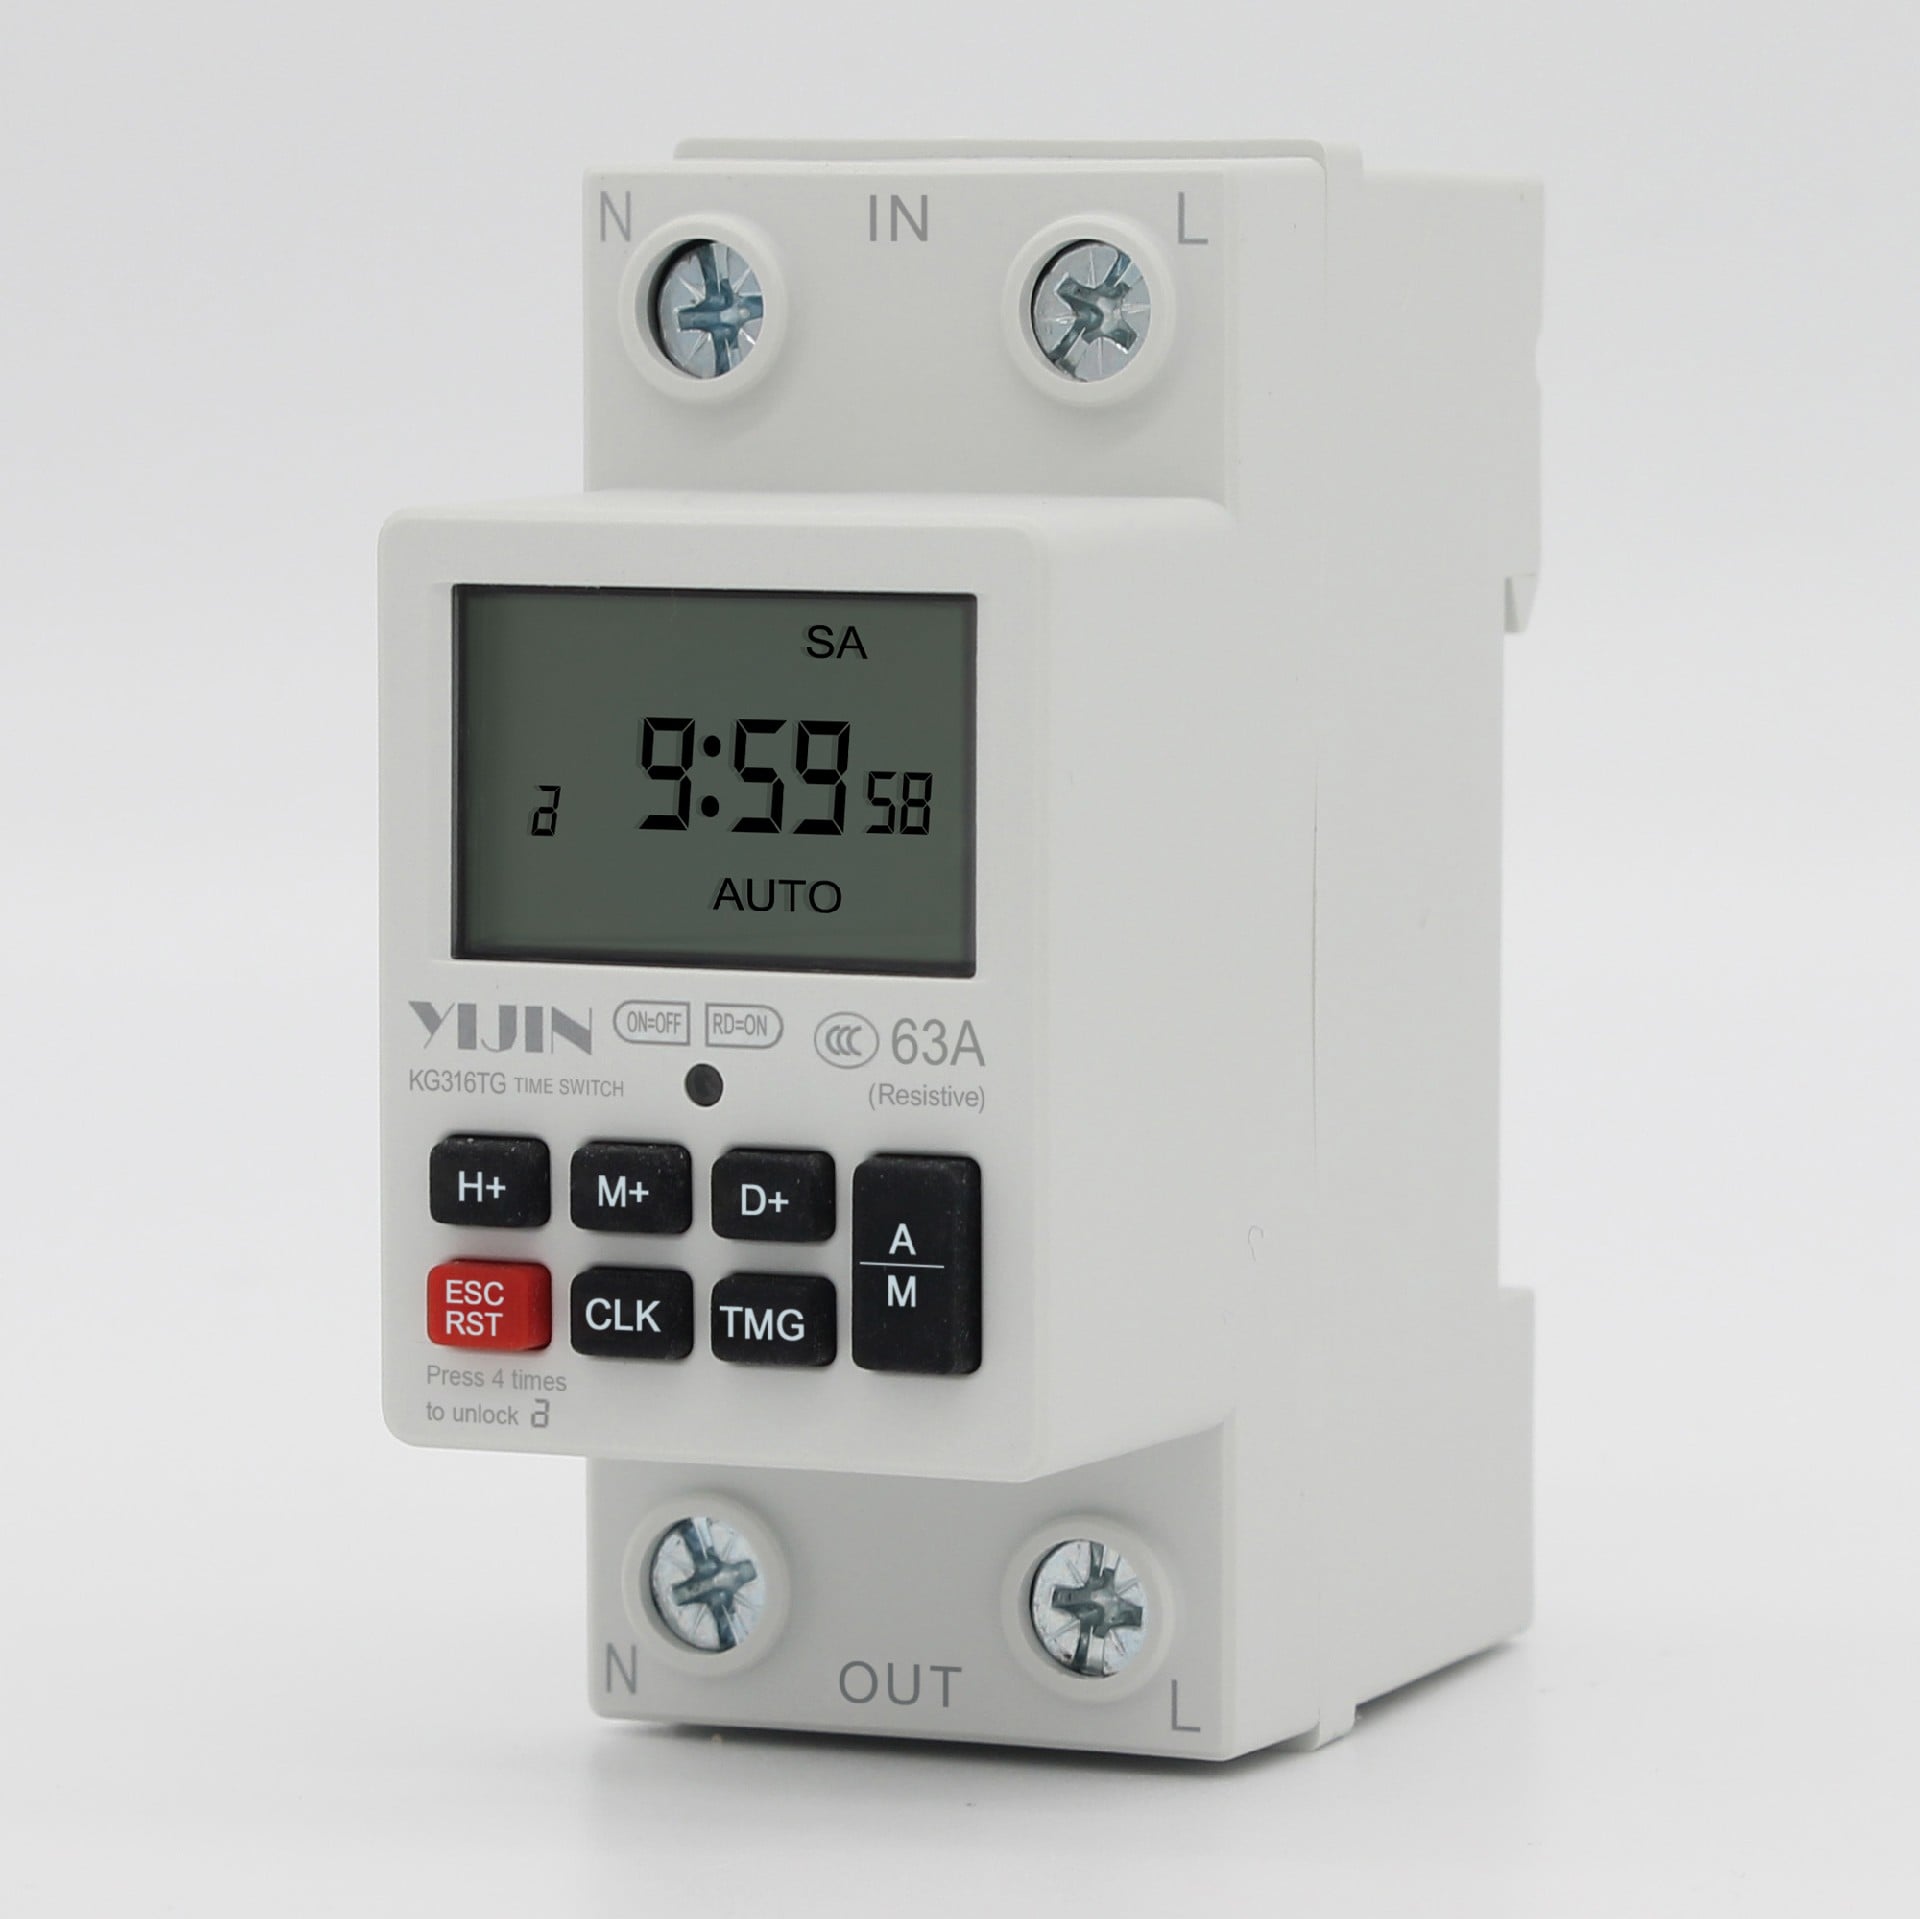
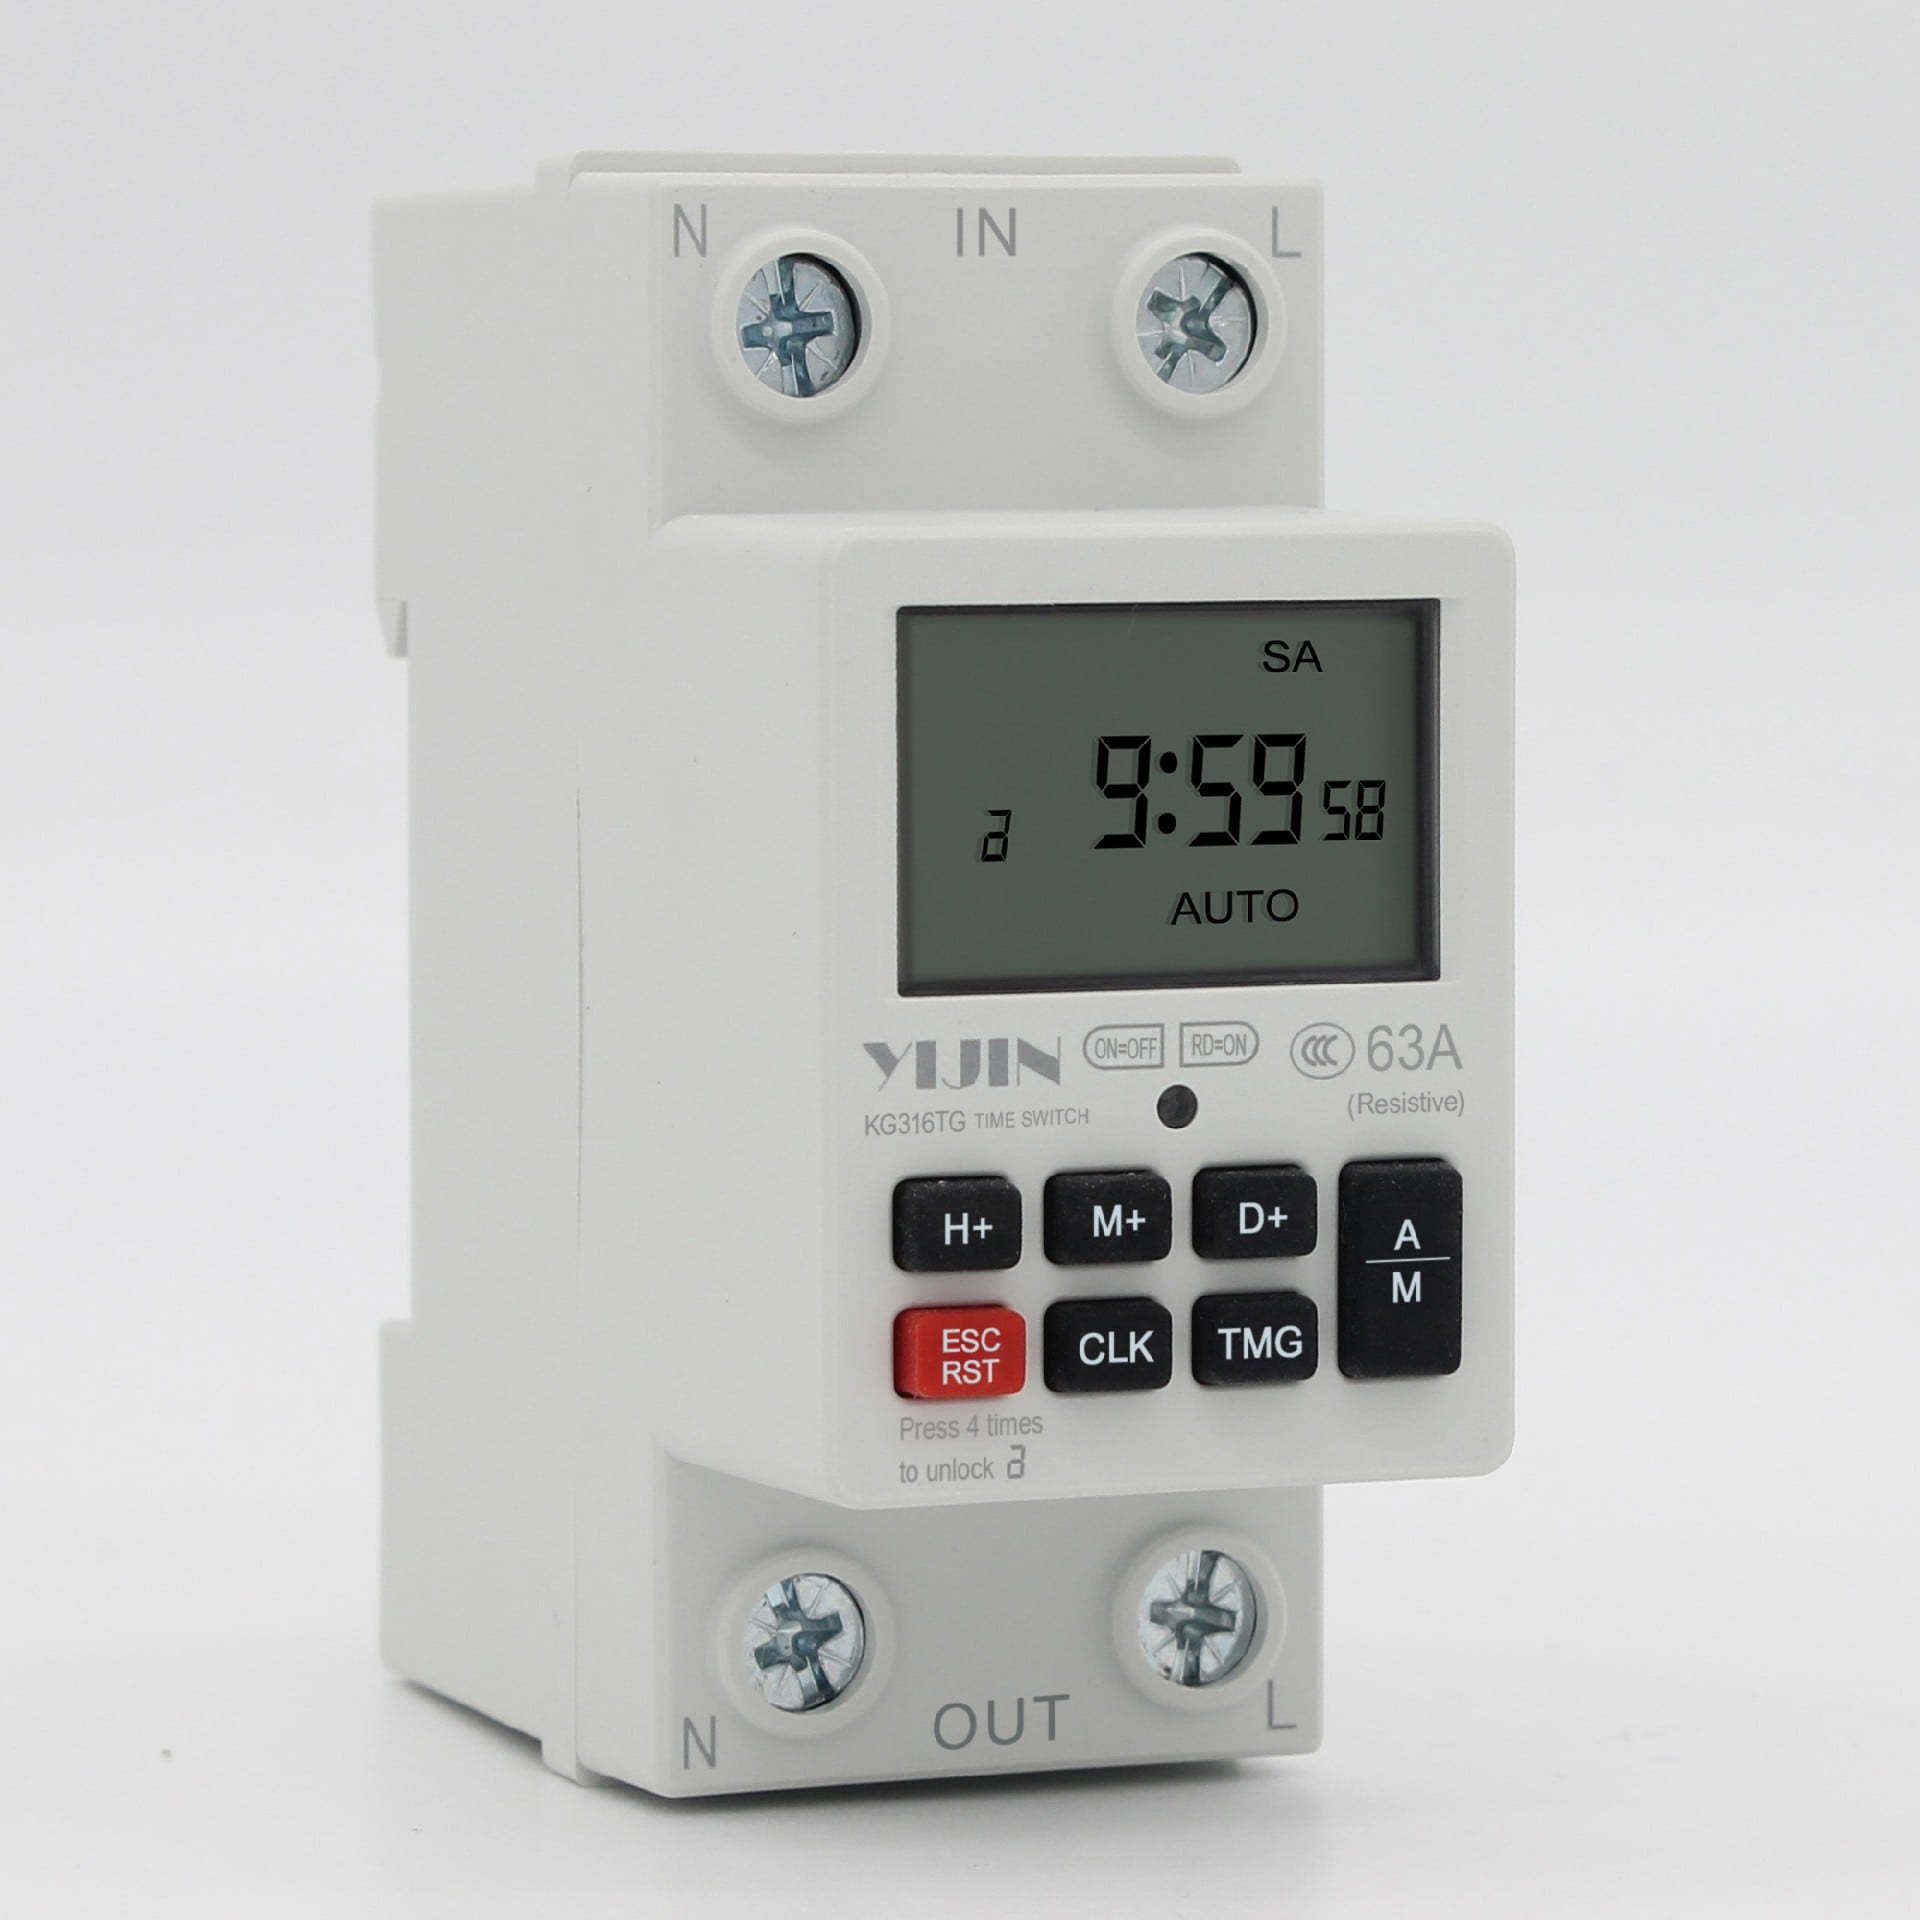
KG316TG36mm modular time control switch
Functional purposeThis product can automatically turn on and off the power of various electrical devices according to the time set by the user. The scope of product control usage includes electrical and household appliances such as street lights, neon lights, advertising sign lights, production equipment, broadcasting and television equipment that require timed opening and closing.Users…
Scope application
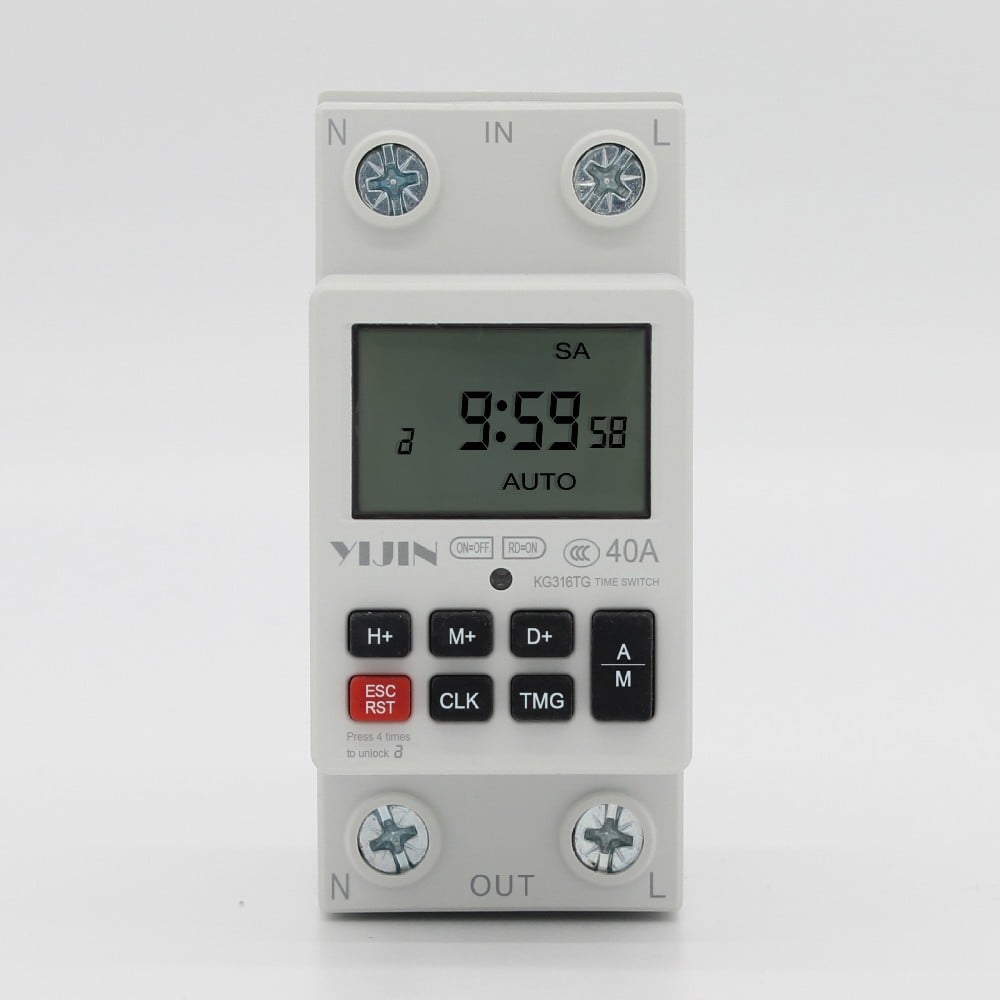
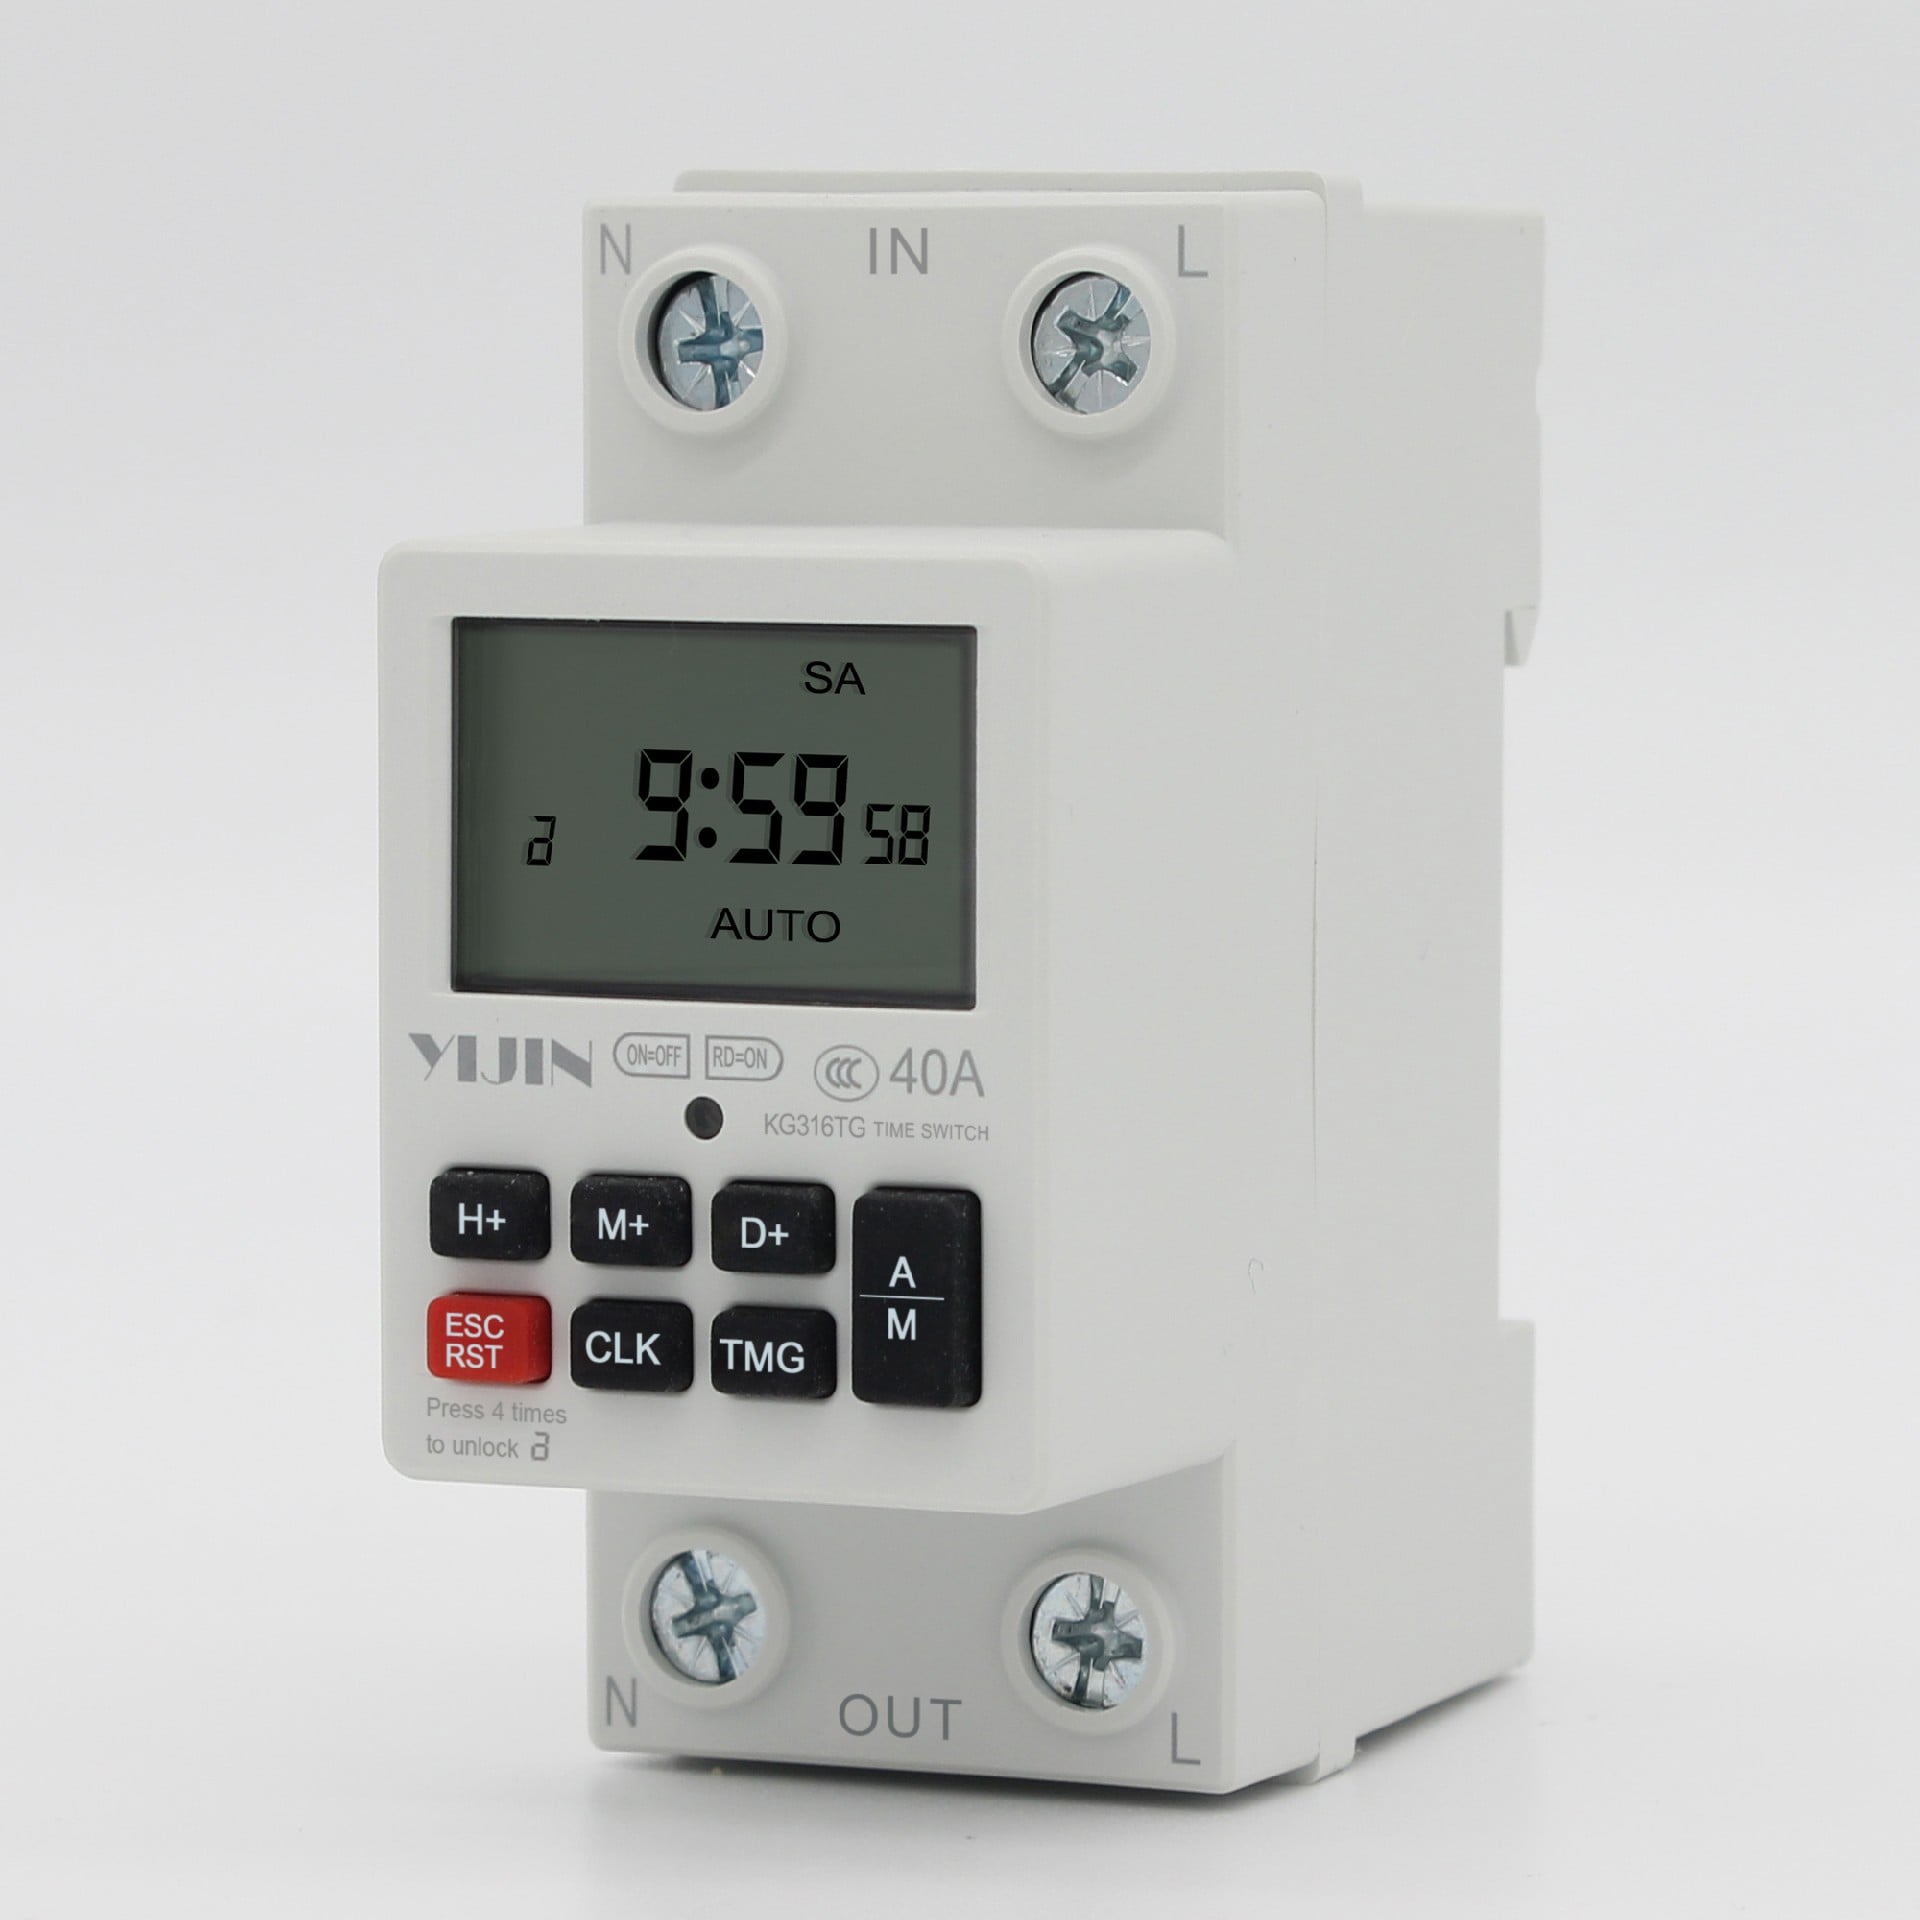
KG316TG time control switch is suitable for use as a delay timing component in control circuits with AC 50/60Hz voltage of 220V and below. The power supply of various control circuits can be turned on or off according to the predetermined time, suitable for use in AC 50/60Hz voltage 220V and below control circuits, as a delay timer for street lamps, neon lights, advertising sign lights, broadcasting and television equipment, and various household appliances.
Model Meaning
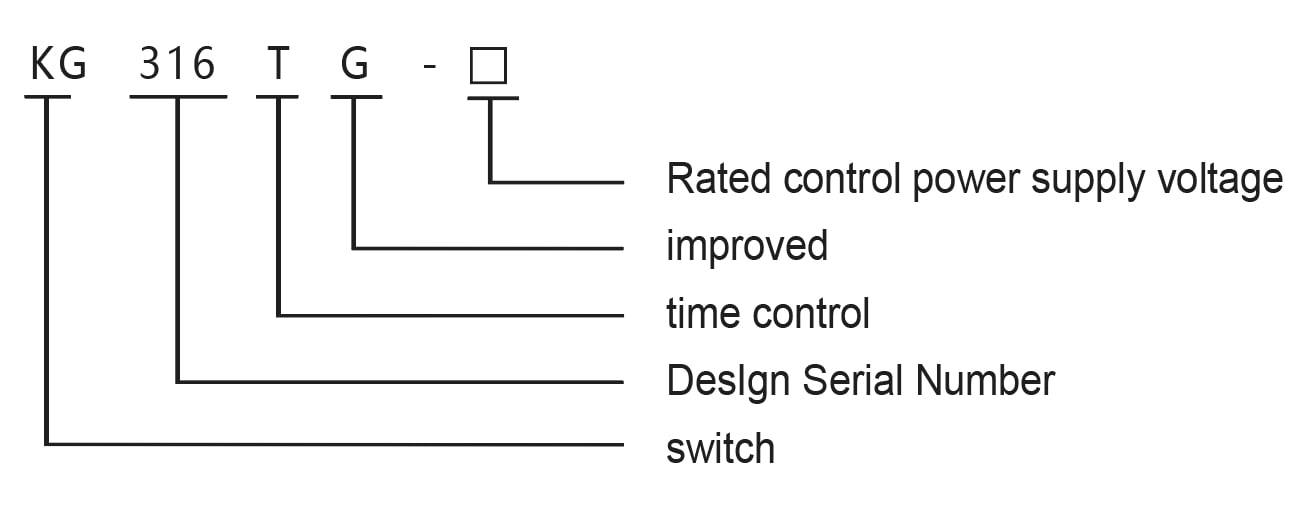
structure characteristics
Our company’s KG316TG time control switch uses an eight position microprocessor chip, directly packaged on a PCB board, with surface mount components, LCD display screen, and high-power relay output on the periphery; Compact in size.
Normal working conditions
Usage environment: altitude not exceeding 2000 meters; The ambient temperature shall not be higher than+40 ℃ and not lower than -5 ℃; The voltage variation range of the rated control power supply is 85% -110% of the rated voltage; In media without severe vibration and explosion hazards, and without gases and dust that can corrode metals and damage insulation; In places where rain and snow cannot penetrate.
Main technical parameters
1. Rated insulation voltage Ui: AC250V
2. Rated impulse withstand voltage Uimp: (40A):AC 1.5kV (63A):AC 2.5kV (80A):AC 3kV
3. Rated control power supply voltage Us: AC220V;
4. Pollution level: 3;
5. Shell protection level: IP20;
6. 40A load power: (resistive load: 6KW; Sensory load: 1.8KW; Motor load: 1.2KW; Lamp load: 0.9KW);
63A load power: (resistive load: 9KW; Sensory load: 2.7KW; Motor load: 1.8KW; Lamp load: 1.35KW);
80A load power: (resistive load: 12KW; Sensory load: 3.6KW; Motor load: 2.4KW; Lamp load: 1.8KW)
7. Daily walking time error: less than or equal to ± 2 seconds;
8. 16 on/off actions can be set per day;
9. The switch time can be cycled daily or weekly;
10. The maximum time control is 168 hours, and the minimum time control is 1 minute;
11. Mechanical lifespan: greater than or equal to 1 million cycles;
12. Electric lifespan: greater than or equal to 100000 cycles;
13. Coordination and cooperation with the Short Circuit Protector (SCPD) are sufficient. Relays should not pose a hazard to people or equipment under short circuit conditions. They are not allowed to continue using them without repair or replacement of parts.
Product appearance and wiring diagram
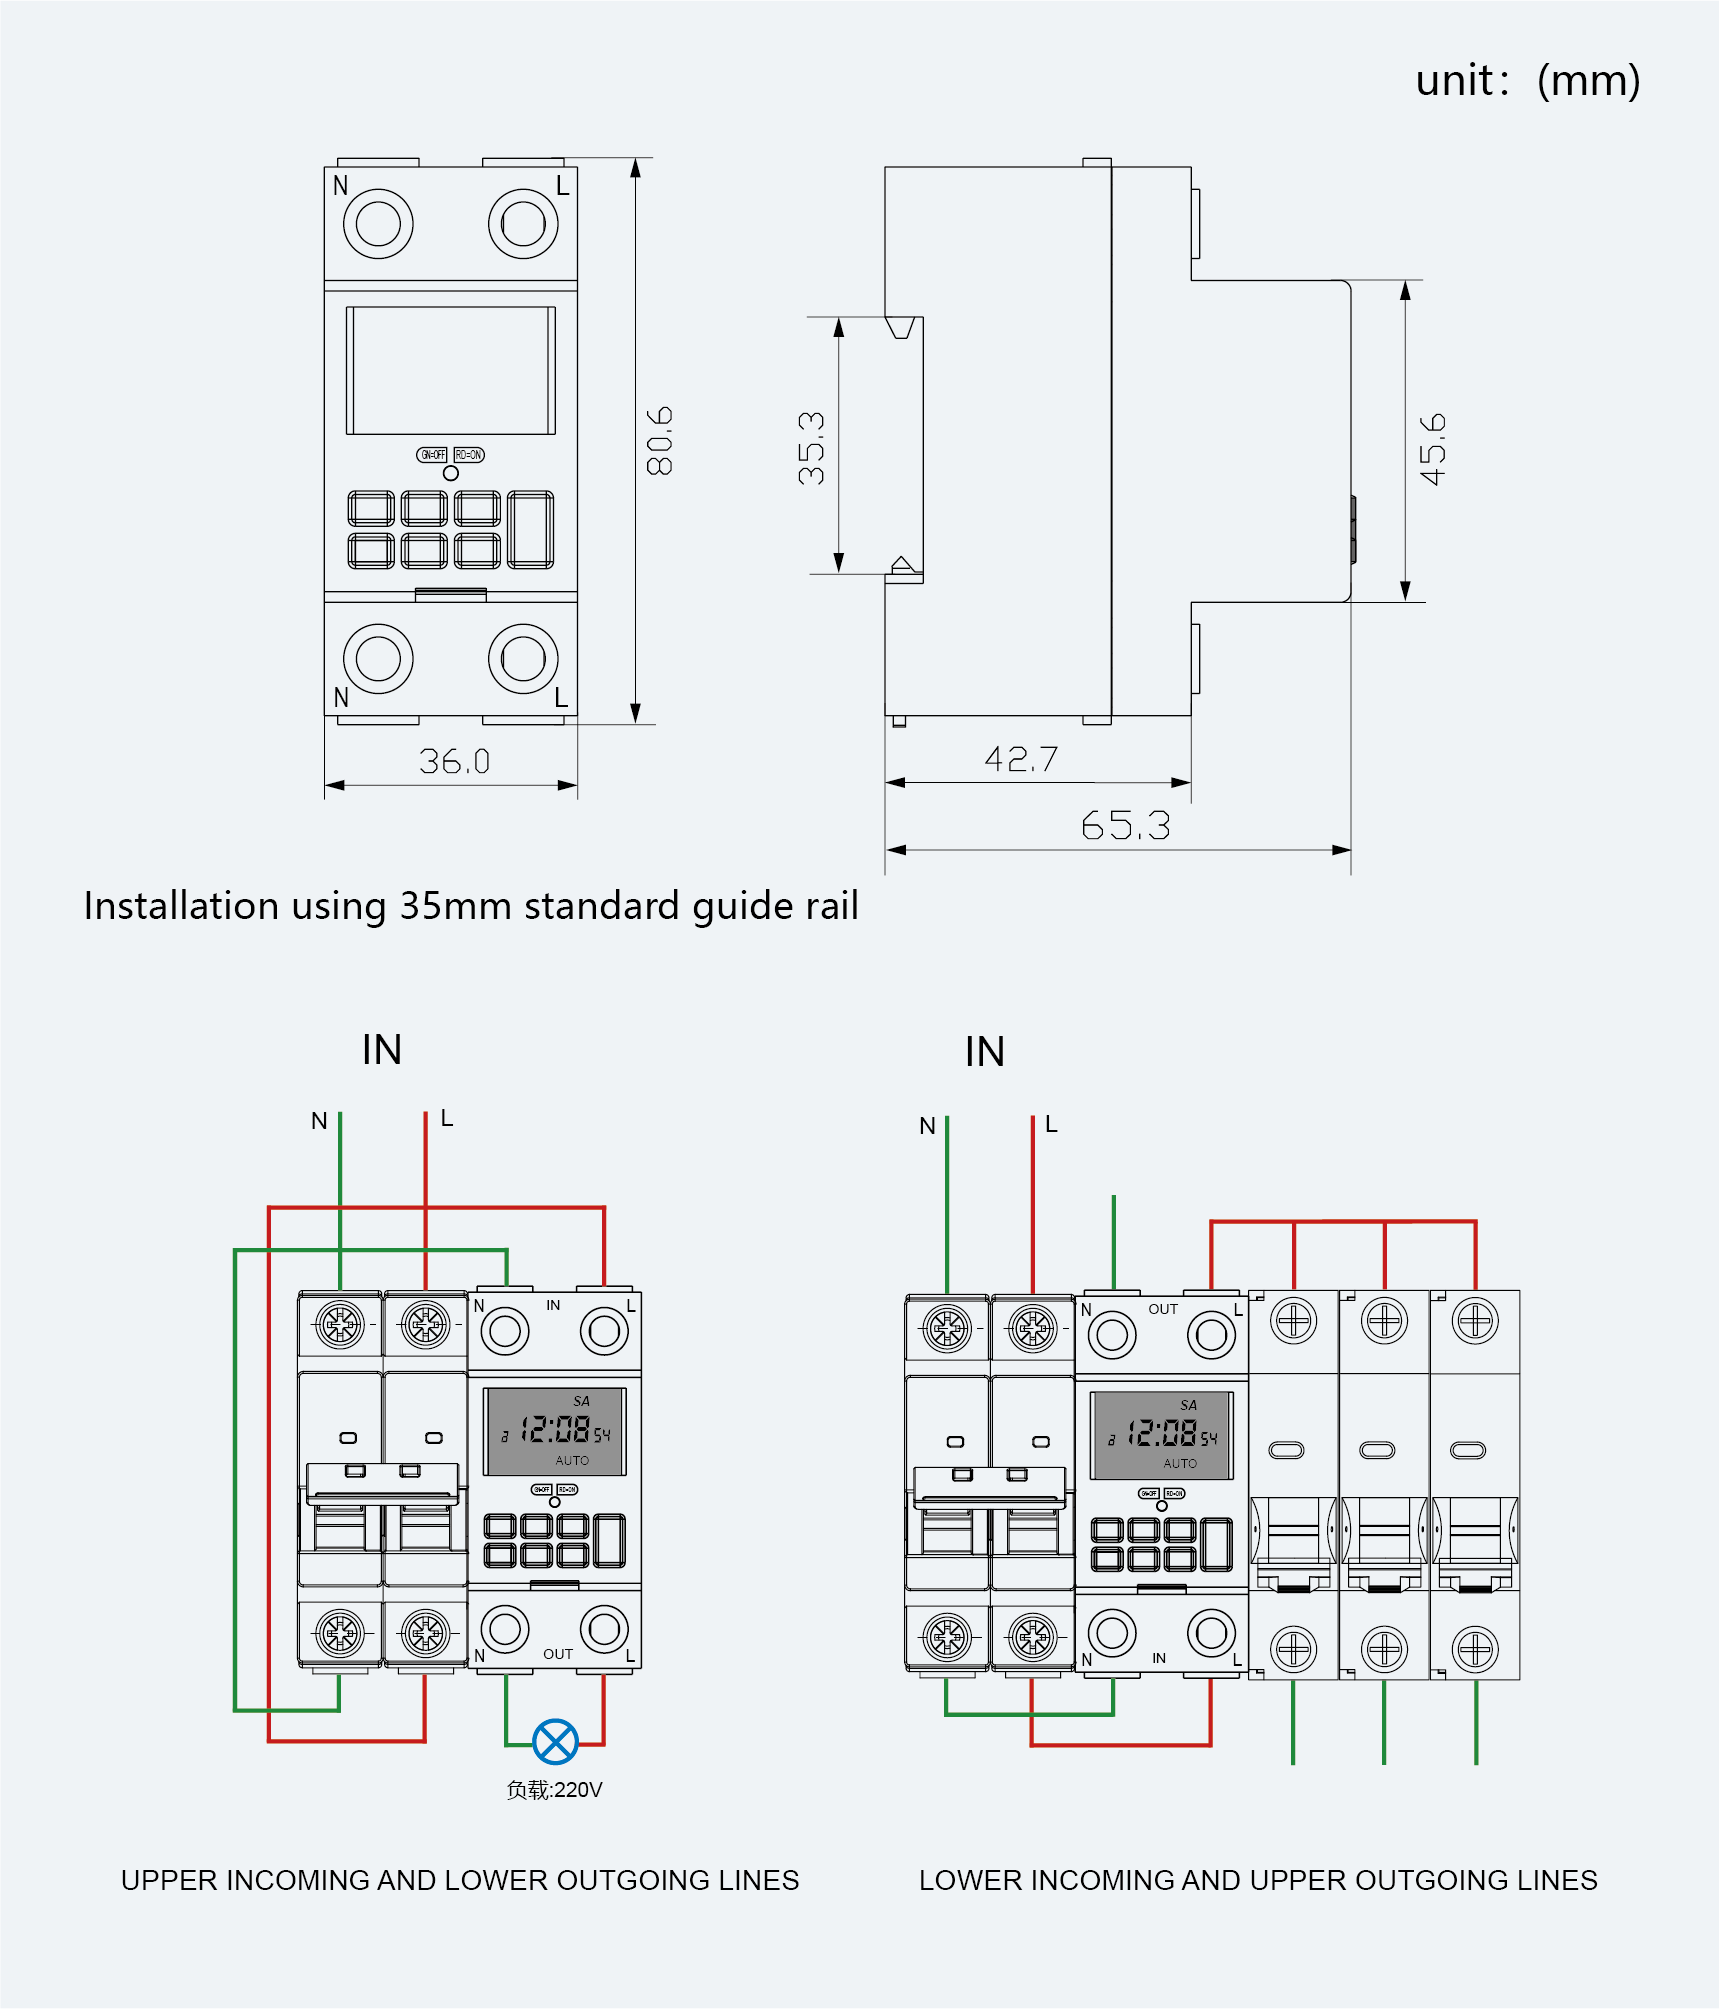
Installation and usage operation
Press and hold the ‘Cancel/Restore’ button to turn on the device
When the keyboard is not operated, it will automatically lock for 15 seconds, and the symbol “” will be displayed in the lower left corner.
Unlock: Press the “Cancel/Restore” button 4 times in a row to automatically unlock, and the symbol “” will disappear.
Adjust Beijing time according to “school week”, “school hour”, and “school minute” respectively.
Set the switch time.
| step | key | Set content |
| one | Press the ‘Timer’ button | Enter the timed on setting and display on 1 |
| two | Press the ‘School Week’ button | Set the opening time to a certain day of the week or * * or every day. |
| three | Sort by “school time” and “school score” respectively | Set the opening time. |
| four | Press the ‘Timer’ button | Enter timed off setting, display 1 off |
| five | Press the ‘School Week’ button | Set the time for this shutdown to a certain day of the week or * * or every day. |
| six | Sort by “school time” and “school score” respectively | Set the closing time. |
| seven | Repeat 1-6 | Set the switch time for the remaining 2-16 times. If timing is not required, make it display: “–: –“ |
| eight | Press the ‘Clock’ button | End the timer setting and return to the clock running state. |
| nine | Press the ‘Auto/Manual’ button | Turn the switch to the “off” position and then adjust it to the “automatic” position |
Automatic clock calibration function
In the unlocked state, first press and hold the “Cancel/Resume” button, and at the same time press the “Clock” button to display “7d=00” to enter the automatic clock calibration function, indicating that the time that needs to be adjusted in one week is seconds. “7d=- xx” means automatic decrease, and “7d=xx” means automatic increase, with a maximum adjustment range of 28 seconds. Press the ‘School Week’ button to adjust the time required for each week, and press the ‘Clock’ button to return. After the setting is completed, it will automatically increase or decrease the time at 00:31:30 every Saturday.
Precautions for operation
To prevent contact heating under high current, it is necessary to tighten the screws on the terminal when wiring.
It is strictly prohibited to install or disassemble products with electricity.
If not used for a long time, press the “time calibration” and “minute calibration” buttons for 3 seconds to enter sleep mode; Release the sleep mode, press and hold the “Cancel/Resume” button for 5 seconds, and re-enter use (note: in sleep mode, all original settings are cleared, and after restarting, it enters the factory state).
For equipment that may cause significant economic losses or personal safety, it is important to design with sufficient margin for technical characteristics and performance values, and safety measures such as dual circuit protection should be adopted
Common faults and troubleshooting methods
1. The time control switch does not work properly after power on. Check if the time period setting of the time control switch meets the required requirements, and if the setting of the week is in the “automatic” position.
2. The time control switch outputs the indicator light when it reaches the set time, but the relay does not switch.
Check if the power supply voltage is too low.
3. Burn out the product
Check if the power supply exceeds the rated power voltage of the product and if the power cord is connected incorrectly.
4. Troubleshooting
When the product malfunctions, first disconnect the power supply, connect the wires correctly according to the wiring diagram, check the circuit for errors, and then follow the operation instructions
Intentional operations. If it is indeed a quality issue with the product itself, please contact the local distribution company or our company.
Transportation and Storage
The product storage and transportation process should not be affected by rain, snow, or compression. During storage, it should be placed in a well ventilated area with a relative humidity of no more than 85%, a lower temperature limit of -25 ℃, and an upper temperature limit of+55 ℃.


